I am having to make my own kimchi!
Anyhow, I realized that to keep my Korean-ness in tact, I decided to learn how to make kimchi at home and luckily, I was able to find an simple recipe that resulted in delicious kimchi. Also, I am able to find just about all the ingredients I need here as well without having to specially import or order anything...
Anyhow, I thought I'd share how I do it here with you. I made my third batch today.
I found the recipe at this link from Pinterest: http://www.withaglass.com/?p=8738 I took this recipe and blended with a bit of another recipe I saw on Pinterest, and it resulted in a simplified, tasty kimchi that I could eat immediately, but tasted even better two days later with some fermentation!
So, the ingredients you need:
* 1 Chinese (Napa) cabbage
* about 3-4 tablespoons coarse salt (I usually use sea salt)
* two heaped tablespoons of Korean chili powder (or you can just use the red pepper flakes by McCormick's, but use only one tablespoon because it may not be as red, but it is super hot)
* 1 tablespoon sugar (or about half an apple or pear...but I haven't tried this)
* about a half a thumbnail size chunk of fresh ginger, peeled, but no need to grate
* 2-3 scallion stalks, cut into small pieces
* 1-2 garlic cloves (I usually go overboard here because my whole family loves the garlic flavor...)
* 2 tablespoons fish sauce (this can be found in the international aisle in most regular grocery stores - I personally don't think this adds any fishy flavor, but if you think it may bother you, you can omit, I think)
* small scoop of cooked rice
OK! On with the show.
First, chop off the end of the cabbage and discard the most outer layers of the cabbage. Then, chop up the cabbage into bite-size pieces. Then, I rinse the cabbage and sprinkle the salt on top and mix it so all the cabbage pieces are covered. This is to break down the cells a bit and reduce the water content in order to make it maintain some of the crispness after it ferments.

Let it sit in the salt "marinade" for about an hour or so, but check on it periodically to make sure it's not getting too salty for your taste. You'll see water starting to come out of the cabbage. To check the saltiness (and crispness - like a pickle), just grab a piece of cabbage and rinse it well under fresh water and taste it. If it's salty enough for you, it's ready.

Now to make the marinade.
Take all the ingredients (3 through 8 in the list) and put into a container in which you can blend all the ingredients together really well. I use one of these for blending (makes for really easy clean-up):
So, I throw everything into this:


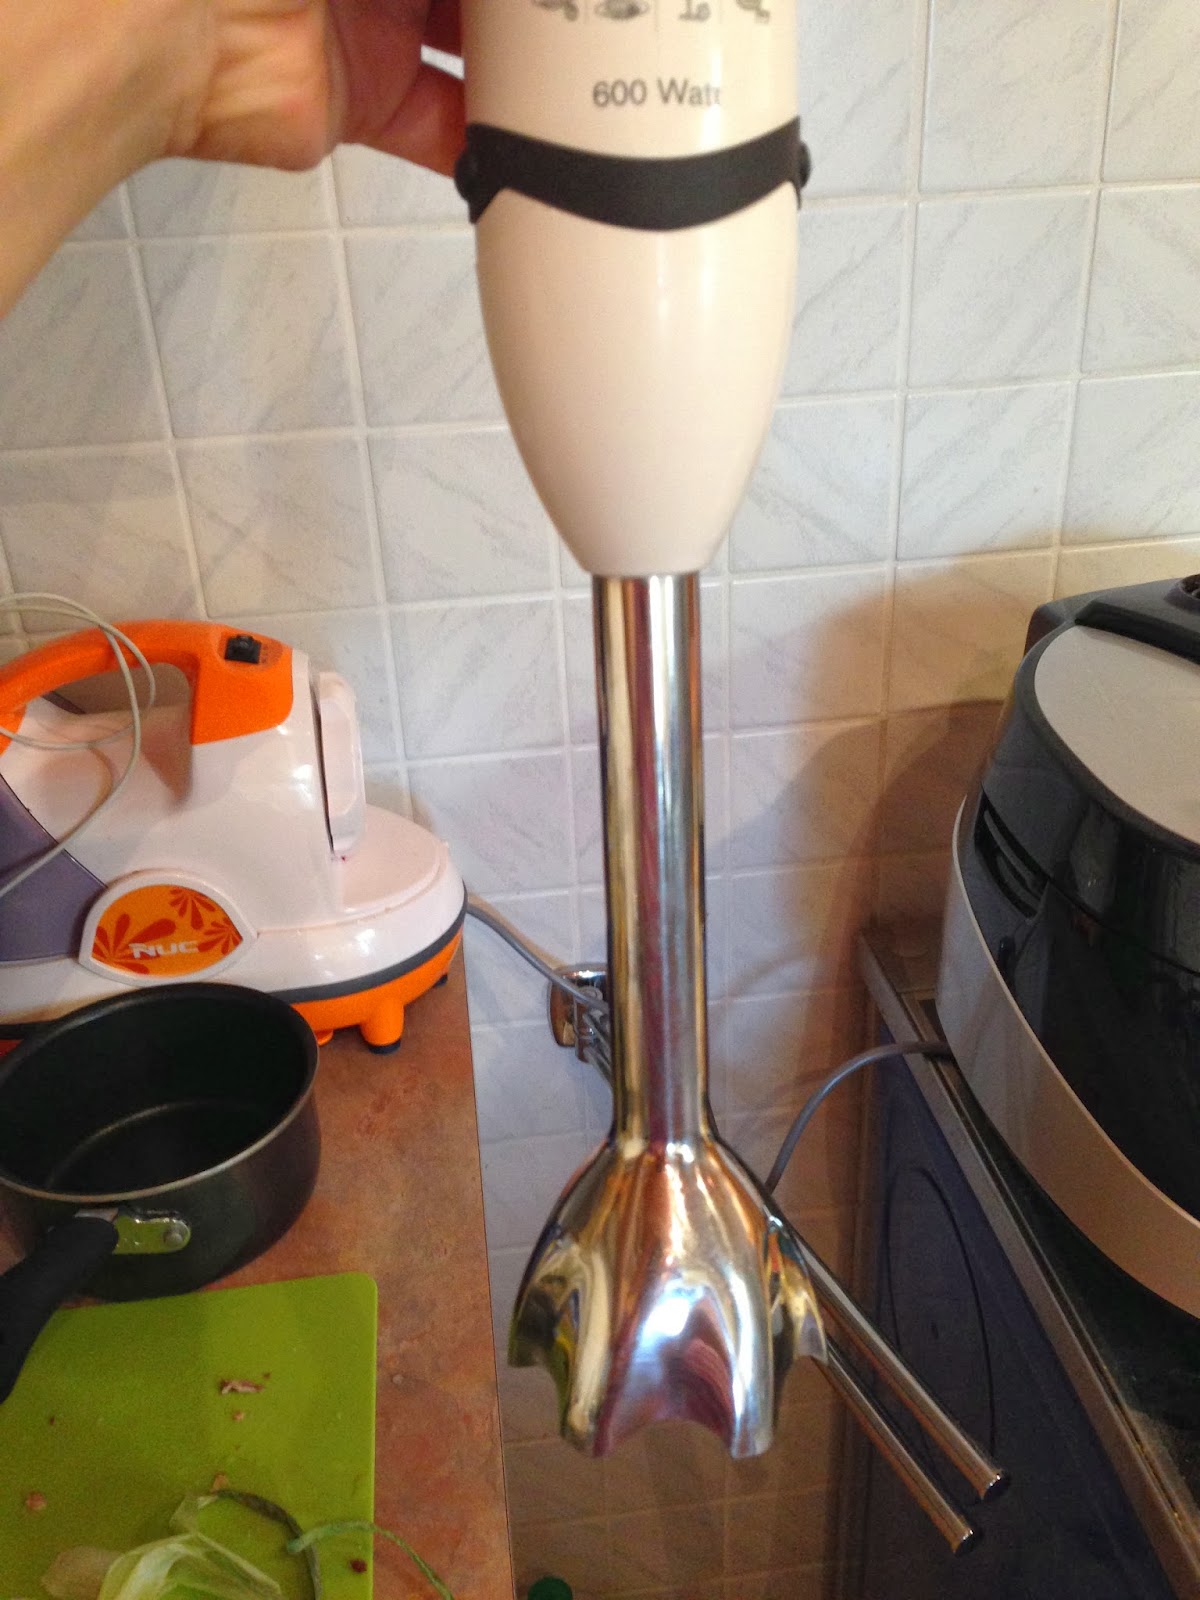
Then, I take my hand blender and blend it to smithereens! See?

Once you've done that, then you need to add the small scoop of cooked rice. The original recipe calls for a rice paste or something, but no need to go through all that work. You're just trying to make it come together (I think), so I got the tip from my mom and use a small scoop of cooked rice. I can't tell you exactly how much to use, but I just used about this much for a double batch:

Anyhow, drop that scoop of rice right into the blender (or cup for blending) and blend away once more! Once it has blended in, then you are ready to marinade the cabbage!
I usually put on my disposable gloves now and just use my hand to scoop out the marinade paste and drop it right into the prepared cabbage, like so:


Now you're all done! I usually leave it out at room temperature covered for a day or two before jarring it all up in mason jars and refrigerating it. I continue to taste it as it ferments to make sure that it isn't getting overly tangy! Although, if it does get overly tangy, it's still salvageable because you can now stir-fry it with a bit of sesame oil and eat it like that, or stir-fry in some rice with it and make some kimchi fried rice! Either way, there you go! Easy enough?
You can also add some grated carrots or turnip slices or whatever other vegetable, I think. I have added turnips I found here in Germany and found that these added a nice flavor, but added a little too much spice for the girls, so I left them out in this batch.
Hope you enjoy the kimchi and let me know if you have any questions!


